Precaes for replacing the repair kit
I. Cleanliness is the lifeline: the maintenance of the hydraulic system must be carried out in an extremely clean environment. Any small impurities may lead to secondary failure.
II. Correct disassembly: Use special tools to avoid scratching the precise cylinder, piston rod and valve body orifice. Record and mark the order of disassembly.
III. Comprehensive inspection: Before replacing the seal, it must be carefully inspected:
Hydraulic cylinder/Piston rod: no scratches, rust, wear and tear. If there is damage, it must be repaired first (such as chrome polishing) or replaced.
Pump/moda shell and shaft: Check the wear and tear of the matching surface.
IV. Standard installation:
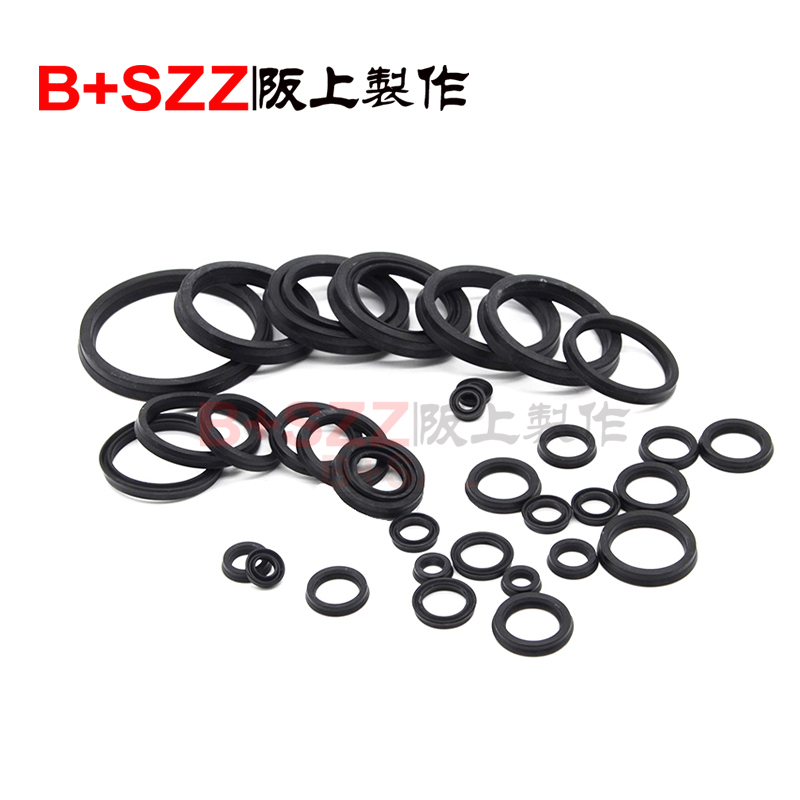
Apply clean hydraulic oil to the seals and installation grooves for lubrication.
Use mounting tools (such as plastic rods, guide sleeves) to protect the lip of the seal to avoid being cut by threaded or sharp edges.
Make sure that the seal is installed in the correct direction (dust ring lip opening outward, main sealing lip opening inward, etc.).
V. Test:
After installation, operate the parts slowly and under low pressure several times to release air and keep the seals in place.
Then gradually increase to the working pressure, check if there is any leakage, and observe whether the movement is normal.
Original text from: Excavator Repair Package https://www.bszzseal.com/